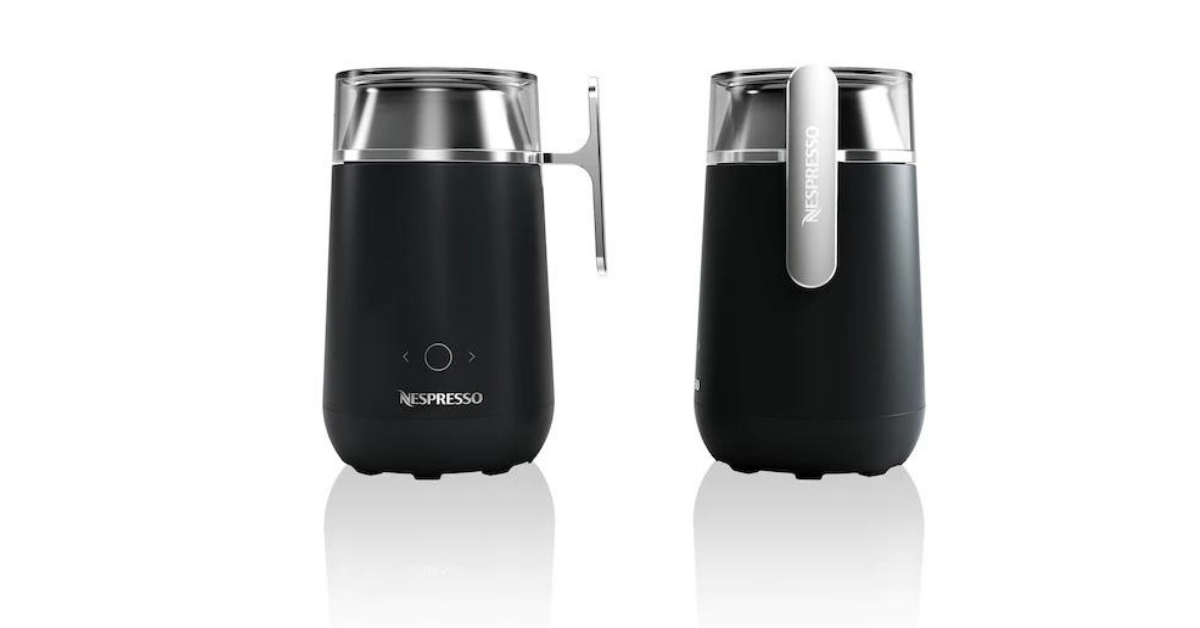

When I first started using Nespresso machines, I thought I was limited to drinking only straight shots of espresso.
However, I couldn’t have been more wrong!
Nespresso actually has a couple of milk frother attachments that you can use to whip up a good cappuccino or latte.
Ready to say goodbye to limited drinks and open up the door to a world of new Nespresso beverages?
Here’s a step-by-step guide on how to use a Nespresso frother.
Table of Contents

With the Aeroccino set up, you’re ready to add the cold milk to the container. There are two maximum levels on the container, depending on how big of a drink you’re making.
For smaller drinks, add milk to the Aeroccino up to the bottom line. For bigger drinks, fill the Aeroccino to the second line.
PRO TIP
If you’re frothing milk with the coil ring, you should never go over the lower maximum line. If you do, the machine could overflow.
However, you can fill the frother the whole way up if you aren’t using the coil ring.
Another pro tip for steaming milk with your Aeroccino is to use cold whole milk. This type of milk tends to make the creamiest frothed milk.
However, you can always substitute plant-based or low-fat milk if you have dietary restrictions. Just be aware that the less fat the milk contains, the less it will steam up in your Aeroccino.
If you absolutely must use non-dairy milk, you can purchase fortified milk blends that are specially designed for baristas. These help your drink to foam up, even if there’s not a lot of fat or protein in the drink.
A few types of non-dairy milk that work well include:
With your milk in the device, you’re ready to get started making milk froth.
The Aeroccino 3 milk frother lets you prepare both cold foam and hot foam milk. For the first option, just press the button on the device once.
For hot milk foam, press the button twice within two seconds. That will make sure the machine heats the milk while frothing it.
The frothing machine will have a red light on when making hot milk froth, and blue light while making cold milk froth.
That makes it super easy to make sure you’ve got the right setting before you’re in too deep!
While the Aeroccino milk frother is at work, pop a Nespresso pod into your Vertuo or Original machine.
By the time your pod is finished pouring, your milk should be ready too!
Pour the prepared milk from the Aeroccino device into your freshly brewed coffee pod.
In total, it should take you somewhere between 70 to 80 seconds to make your milk-based coffee drink using the Aeroccino frother.

FluentInCoffee.com is a participant in the Amazon Services LLC Associates Program.
As an Amazon Associate, I earn from qualifying purchases by linking to Amazon.com and other affiliated sites.